Pick One UI Color From a Screenshot Before the Token, CSS, and Slide Values Drift
Use a color-picker tutorial when one screenshot or mockup should become the shared source for CSS, slide, and documentation color values before everyone starts approximating by eye.
Open Color Picker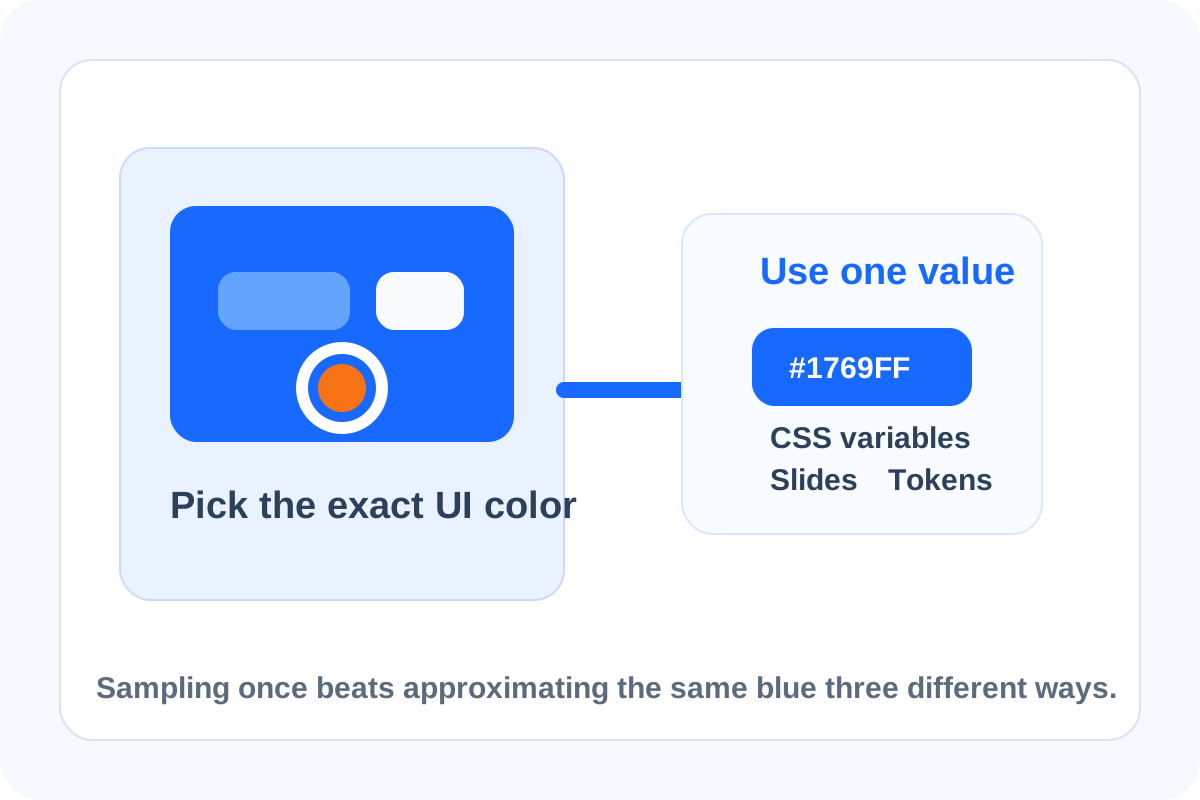
Color drift often starts with a well-meaning shortcut. Someone samples a screenshot by eye, another teammate types a near match into CSS, and a slide deck uses a third blue because the original number was never written down. A small color-picker tutorial fixes that by treating one screenshot or mockup as the source of record before the value spreads into tokens, code, and supporting assets.
A quick tutorial workflow
- Open the screenshot, mockup, or exported asset that contains the color you actually want to reuse.
- Sample the exact area that represents the final UI color rather than a shadow, gradient edge, or antialiased border.
- Capture the value in the format the next tool needs, such as HEX for quick CSS handoff or RGB for another system.
- Write that value once into the design note, token list, or implementation ticket so everyone reuses the same source.
- If several brand-adjacent colors are needed, sample them in one pass instead of re-opening the screenshot later and guessing again.
Where this helps in real work
- Rebuilding a UI state from a stakeholder screenshot.
- Pulling one exact brand accent into CSS variables and presentation slides.
- Checking whether a mockup color changed before a design token update ships.
- Reusing a button, tag, or chart color across code, docs, and launch materials.
Why one sampled value beats visual memory
Most near misses look acceptable in isolation. The drift becomes obvious only when components, docs, and deck assets sit side by side. Sampling one exact source value keeps the handoff objective and prevents repeated approximation from becoming a style inconsistency later.
What to avoid while sampling
Avoid sampling softened edges, gradients, shadows, or compressed screenshots with obvious artifacts. The goal is the intended fill or stroke color, not a transitional pixel that happened to be easy to click.
Related UtilFlow moves
If the sampled value now needs to move between HEX, RGB, and HSL, continue into HEX/RGB/HSL Converter. If you need a fuller palette around the sampled color, Color Palette is the next step once the anchor tone is fixed.
FAQ
Why sample from a screenshot instead of matching by eye?
Because visual matching drifts quickly across code, slides, and documentation, while one sampled value gives every surface the same source color.
What part of the UI should I sample?
Sample the true fill or stroke area you want to reuse, not a shadow, gradient edge, or anti-aliased border pixel.
What should I do after I get the color value?
Write it into the handoff note, token list, or implementation ticket immediately so the same value is reused instead of re-guessed later.