Sketch, Crop, Watermark, and Compress One Review Image Without Restarting the Workflow
Run a chained image workflow when you need a quick annotated review asset that starts as a sketch, gets trimmed, is clearly marked as draft, and only gets compressed if the final share copy still feels too heavy.
Open Online Whiteboard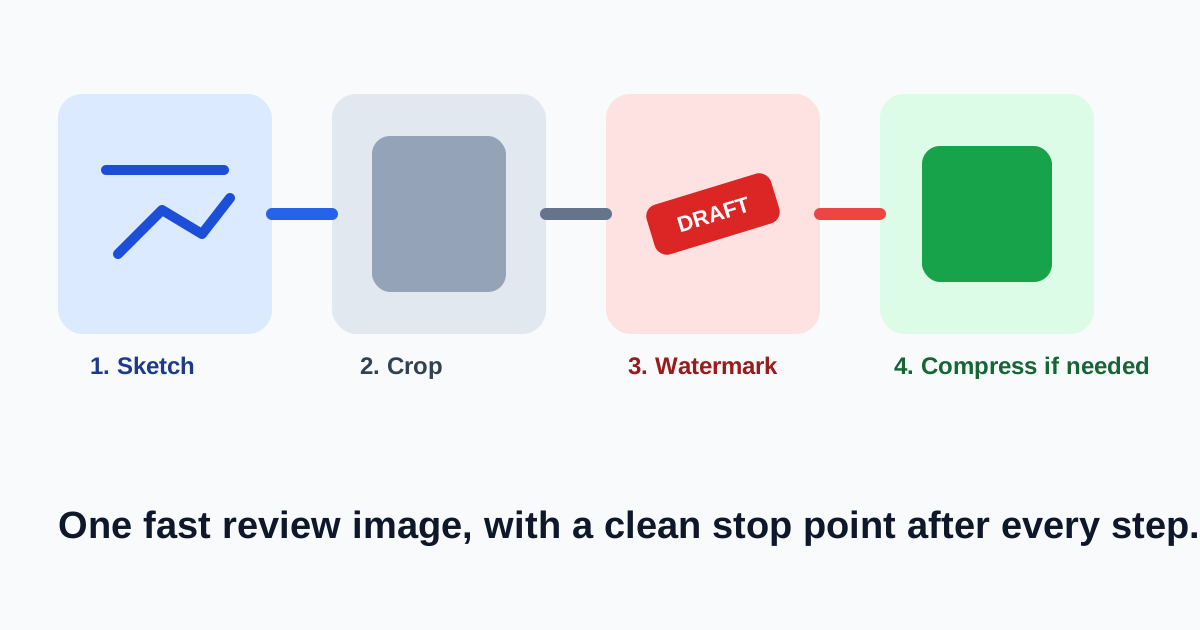
Sometimes the fastest useful artifact is not a polished mockup. It is one annotated image that explains the change, the bug, or the draft idea clearly enough for someone else to react. This workflow keeps that asset lightweight and decision-oriented: sketch the point, crop away wasted frame, watermark the review copy so it cannot be mistaken for final, and compress only if the sharing channel still complains.
The tool order
- Start with Online Whiteboard when the first need is to draw or annotate the idea quickly instead of opening a heavier design app.
- Move to Image Cropper once the useful content exists and the exported canvas includes more empty area than the reviewer needs.
- Continue to Add Watermark to Image for the share copy when the draft should carry its own status label after it leaves the original thread.
- Finish with Image Compressor only if the marked image is still heavier than the upload form, chat tool, or doc packet really wants.
When to stop and download
- Stop after Online Whiteboard if a plain sketch is already enough for the conversation.
- Stop after Image Cropper if the main problem was wasted margin or a too-large frame around the annotation.
- Stop after Add Watermark to Image if the sharing channel accepts the file and the status label is the final missing safeguard.
- Use Image Compressor only when the marked review image still feels too large for the destination.
What to check after each step
- After Online Whiteboard: confirm the annotation actually highlights one decision instead of turning into a noisy page.
- After Image Cropper: confirm arrows, labels, and edge details were not trimmed away with the empty margin.
- After Add Watermark to Image: confirm the status text is obvious without covering the one area the reviewer must inspect.
- After Image Compressor: confirm text, arrows, and small UI details still read clearly at the size the reviewer will actually see.
Why this workflow stays cleaner than opening several heavier apps
The point is speed without losing clarity. Each tool solves one narrow problem in sequence, and each handoff offers a natural exit when the artifact is already good enough. That keeps the workflow practical for bug triage, client review, classroom explanation, and quick internal feedback loops where the polished version can come later.
Related UtilFlow moves
If the review image started from an existing screenshot instead of a sketch, begin with Image Cropper or Image Rotate and Flip instead. If several final review images should travel together as one packet, continue into Images to PDF after compression rather than cramming multiple ideas into one crowded canvas.
FAQ
Why start with an online whiteboard for a review image?
Because the first need is often to explain one idea or issue quickly, and a sketch or annotation can be faster than opening a full design workflow.
When should I watermark the image?
Watermark it when the share copy could travel beyond the original thread and might otherwise be mistaken for a final approved asset.
Why compress last instead of first?
Because cropping and watermarking define the final content first. Compression works best when you already know which share copy actually needs to be made smaller.