Crop a Logo, Resize a Square Master, and Generate a Clean Favicon Set Without Restarting
Use one chained image workflow when a source logo or mark needs a tighter square crop, a controlled master size, and a favicon pack for browser tabs and app icons without bouncing between disconnected tools.
Open Favicon Generator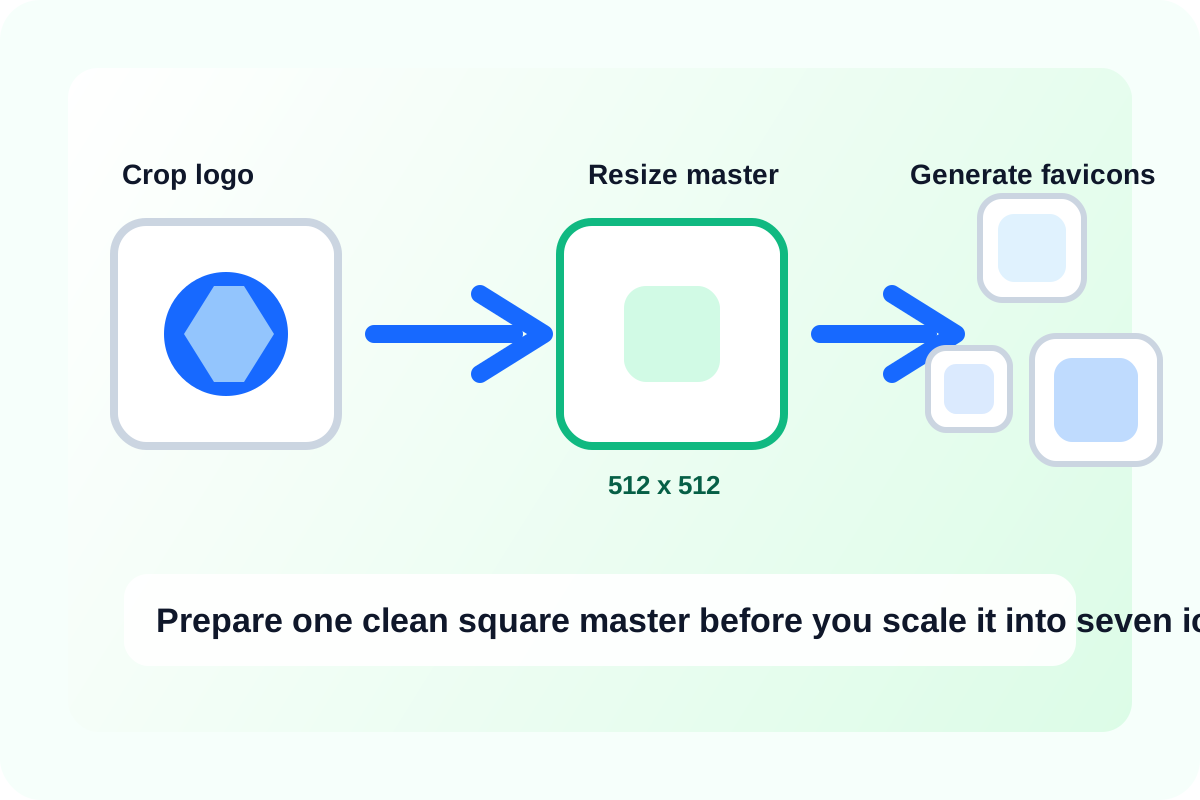
Favicon work often goes wrong before the favicon tool even starts. The source logo has too much empty margin, the mark is not truly square, or the starting image is an awkward size that produces soft small outputs. This workflow keeps the job simple: crop the mark to the frame that actually matters, resize one clean square master, then generate the favicon set from that prepared source instead of hoping the raw upload behaves well at every icon size.
The tool order
- Start with Image Cropper to remove wasted edge space and center the real mark inside a tighter square.
- Continue directly to Image Resizer so the cropped result becomes one deliberate square master size such as 512 by 512 before smaller icons are generated.
- Download that resized master and open Favicon Generator to create the practical PNG favicon set for browser tabs, touch icons, and manifest assets.
When to stop and download
- Stop after cropping if the only problem was excess margin and you already have a properly sized square master elsewhere.
- Stop after resizing if the next handoff only needs one clean square app icon rather than a full favicon pack.
- Continue into Favicon Generator when the job specifically needs multiple icon sizes for browser tabs, Apple touch icons, or manifest assets.
What to check after each step
- After cropping: confirm the mark still has enough breathing room and is not cut too tightly around fine edges.
- After resizing: preview the master at small scale and confirm thin strokes or letters still read clearly.
- After favicon generation: inspect the smallest PNG outputs first, because 16px and 32px icons reveal legibility problems long before the larger sizes do.
Why this workflow is cleaner than starting with the favicon pack
A favicon generator can only scale what you give it. If the source image still contains extra whitespace or starts from an undisciplined square, every output size inherits that weakness. Preparing one good master first means the generated set solves a branding handoff problem instead of mass-producing the same framing mistake seven times.
Related UtilFlow moves
Use Image Format Converter before this chain only if the source file type itself is the blocker. If the mark still feels soft after the favicon set is generated, go back to the crop and master-size decisions before blaming the export sizes.
FAQ
Why crop before resizing for favicon work?
Because a favicon only has a few pixels to communicate the mark, and extra empty margin wastes that space before the icon is ever scaled down.
What master size should I create before generating favicons?
A clean square master such as 512 by 512 is a practical starting point because it is large enough to scale down cleanly into common favicon outputs.
Which generated favicon sizes should I inspect first?
Inspect the smallest sizes first, especially 16px and 32px, because they expose legibility and spacing problems fastest.